Adding and editing publishing destinations
Only admins are able to add and edit publishing destinations for your Camayak organization account. When adding a new publishing destination, remember to avoid duplicating a destination you already have listed.
Adding a new WordPress publishing destination. Here are the instructions for adding a new WordPress platform:
- Download the Camayak WordPress plugin
- Create a new admin user on WordPress with the username: YourNewsroomName, a secure password (you’ll need to remember it in a minute) and an email address that you can access (e.g. ‘genericemail@yournewsroom.com’). For more information on the capabilities this user must have, or why an administrator is necessary, please read this blog post.
- Go to Publishing destinations in Camayak and choose your new destination option. Enter the login details you created (above) when you’re prompted to do so. You can also pick what image size you’d like to default to when publishing to WordPress and choose the taxonomies (like tags and categories) that you’d like to be able to create within Camayak for publishing to your site. For editing metadata fields, you can click on ‘options’ once the destination is created and set them up under ‘edit metadata’.
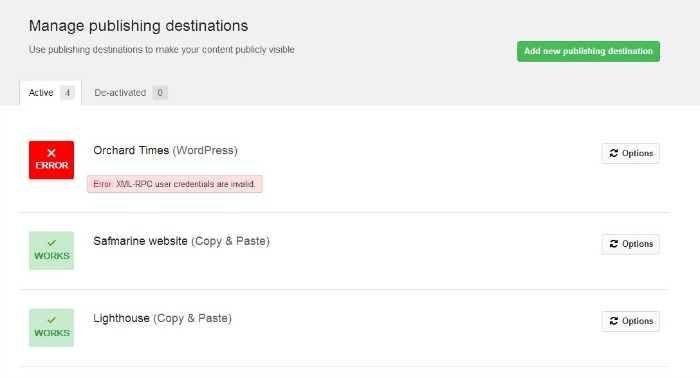
If you see any connection errors when saving your WordPress settings, please email our support team so we can help you identify what the issue is.
Adding a new Content API destination.
- Under your organization name in the menu bar of Camayak, select Publishing destinations
- Mouse over Add new publishing destination and select “Content API”
- In the modal, enter the following information:
- A name for the publishing destination. This is what will appear in the Camayak application.
- A Webhook url. This is the URL the Camayak content publishing API will make an HTTP POST request to when assignments are approved and retracted in Camayak. It is highly recommended that this is a secure (HTTPS) URL.
- Check whether you want to use Signed Requests for the Camayak content publishing API. This is recommended for security. For more information, please see the section on Signed Requests
- Enter a “shared secret” string. This string will be used as part of the Signed Requests
- Click Save. After creating the publishing destination, and validating that the Webhook URL you provided is working, you will be provided with an API key that must accompany all requests to the Camayak content publishing API. This key must be kept secret, and treated as a password. For more information, please see the section on Security.
For more information, here’s Camayak’s Content API documentation and a sample Camayak API integration written in PHP.